Linux Form Nothing building a minimal system with
1. Setup
To begin journey to begin, essential tools are in order. So you need to install a bunch of things that will aid you in your journey of building your linux system
sudo apt install bc binutils bison dwarves flex gcc git gnupg2 gzip libelf-dev libncurses5-dev libssl-dev make openssl pahole perl-base rsync tar xz-utils autoconf gperf autopoint texinfo texi2html gettext gawk bzip2 qemu-system-x86 libtool
after you installed the tools necessary to build Linux, Lets create our project directories.
mkdir LFN
cd LFN
mkdir root
cd root

mkdir boot
mkdir proc
mkdir sys
mkdir dev

mkdir usr
cd usr

mkdir lib
mkdir lib64
mkdir bin
mkdir sbin
cd ..

ln -s usr/lib lib
ln -s usr/lib64 lib64
ln -s usr/bin bin
ln -s usr/sbin sbin
cd ..
Inside root/:
- boot/ → Contains the bootloader files (like GRUB) and Linux kernel.
- proc/ → A virtual filesystem containing process and system information (mounted as
/proc). - sys/ → A virtual filesystem exposing kernel and hardware information (mounted as
/sys). - dev/ → Contains device files that represent hardware (mounted as
/dev).
Inside usr/:
- lib/ → Contains essential shared libraries
- lib64/ → Contains 64-bit shared libraries (for x86_64 systems)
- bin/ → Contains basic user commands (e.g.,
ls,cp,mv) - sbin/ → Contains system administration commands (e.g.,
fdisk,ifconfig)
note: Directories like
/bin,/sbin,/lib, and/lib64were traditionally under root. Modern distributions move these to/usr, using these symlinks is for backward compatibility.
Now we have to download the most important thing of them all the linux kernel:
# download it into LFN directory
git clone --depth 1 https://github.com/torvalds/linux
2. Build the kernel & linux utils
Now begin by configuring our linux kernel:
tinyconfig will create a minimal configuration
menuconfig we will configure the kernel using the config that we just created
make tinyconfig
make menuconfig
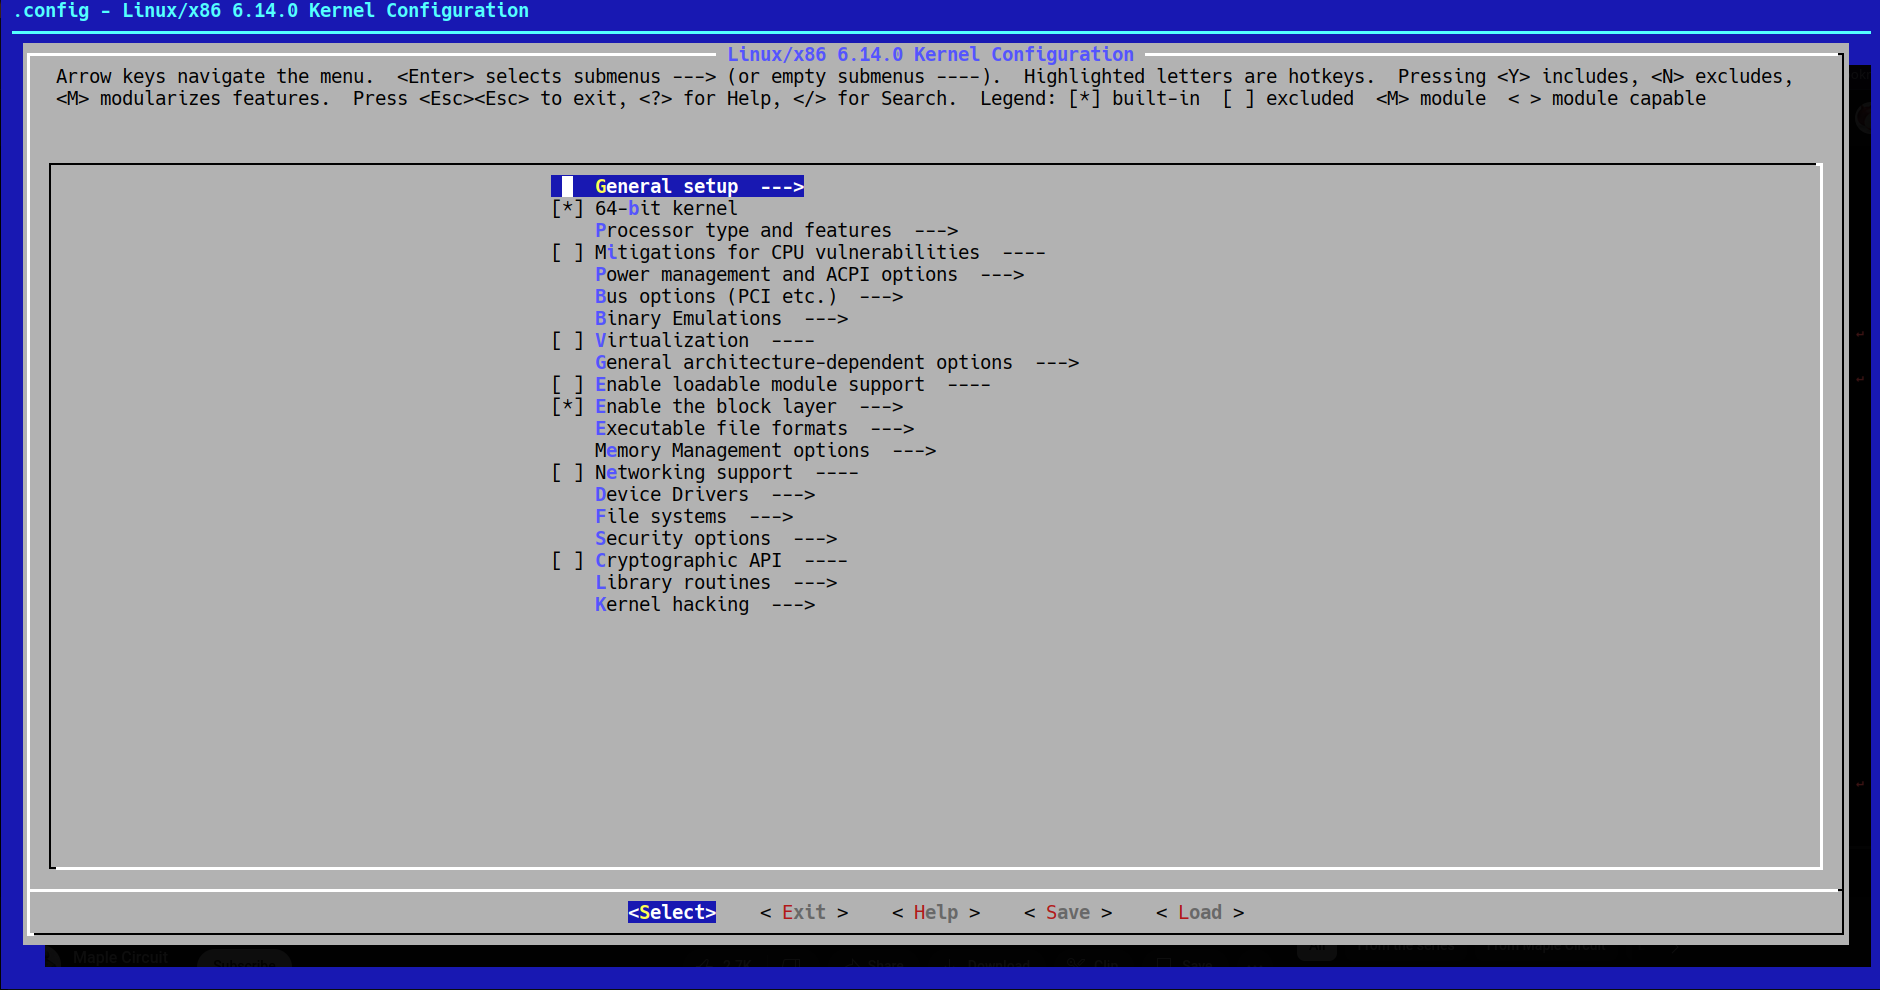
Our goal is to build a minimal linux setup that is going to run on visualized hardware using qemu
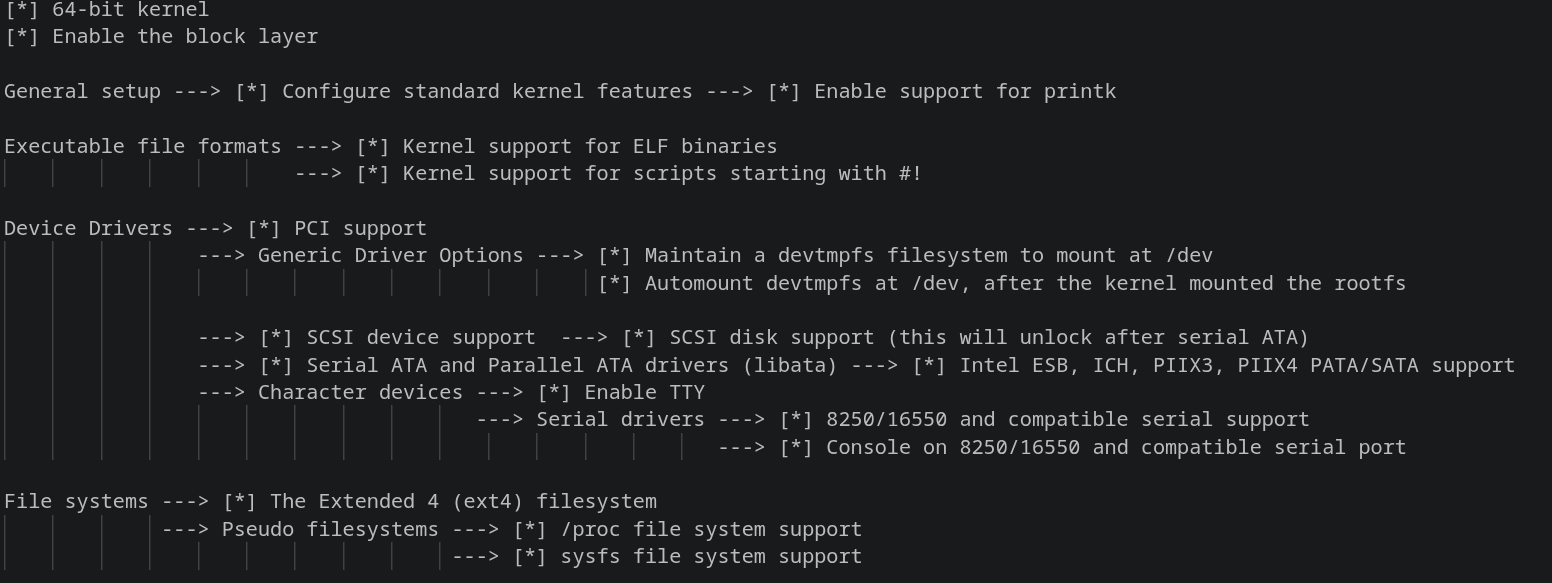
Here we have the choice to enable a bunch of option in the kernel that we gonna need.
[*] 64-bit kernel
[*] Enable the block layer

General setup ---> [*] Configure standard kernel features ---> [*] Enable support for printk

Executable file formats ---> [*] Kernel support for ELF binaries
												---> [*] Kernel support for scripts starting with #!

Device Drivers ---> [*] PCI support
							 ---> Generic Driver Options ---> [*] Maintain a devtmpfs filesystem to mount at /dev
																								[*] Automount devtmpfs at /dev, after the kernel mounted the rootfs


								---> [*] SCSI device support  ---> [*] SCSI disk support (this will unlock after serial ATA)
								---> [*] Serial ATA and Parallel ATA drivers (libata) ---> [*] Intel ESB, ICH, PIIX3, PIIX4 PATA/SATA support
								---> Character devices ---> [*] Enable TTY
																			 ---> Serial drivers ---> [*] 8250/16550 and compatible serial support
																													 ---> [*] Console on 8250/16550 and compatible serial port

File systems ---> [*] The Extended 4 (ext4) filesystem
						 ---> Pseudo filesystems ---> [*] /proc file system support
																		 ---> [*] sysfs file system support
now we gonna actually build our kernel with the make command and -j flag to specify how many cores you gonna use to build (i have 8 so am gonna use -j8)
sudo make -j8
after the kernel build completes you should be the proud owner of bzImage file located in the arch/x86/boot folder, and this file is the kernel you just built.
Now we gonna move it to the correct folder in our root directory:
mv arch/x86/boot/bzImage ..
cd ..
mv bzImage root/boot/
Bash
Bash - GNU Project - Free Software Foundation
We need a shell in order to interact with our kernel. Remember to replace path-to-LFN.
# Run inside LFN
git clone --depth 1 https://git.savannah.gnu.org/git/bash.git

mkdir bash-build
cd bash-build

../bash/configure --prefix=/usr

make -j8
make DESTDIR=<path-to-LFN>/root install

cd ..
ln -s bash root/bin/sh
Coreutils
Coreutils - GNU core utilities
We need core utilities like cat ,cp, rm... NOTE bootstrap type scripts can be not necessary if you downloaded from a release instead of git.
git clone --depth 1 https://github.com/coreutils/coreutils

mkdir coreutils-build

cd coreutils
./bootstrap
cd ..

cd coreutils-build
../coreutils/configure --without-selinux --disable-libcap --prefix=/usr
# we do not need selinux and libcap in our build

make -j8
make DESTDIR=<path-to-LFN>/root install
cd ..
Util-Linux
Gives us a bunch of Linux tools like mount.
git clone --depth 1 https://github.com/util-linux/util-linux

mkdir util-build

cd util-linux
./autogen.sh
cd ..

cd util-build
../util-linux/configure --disable-liblastlog2 --prefix=/usr
# we do not need liblastlog2 in our build

make -j8
make DESTDIR=<path-to-LFN>/root install
cd ..
Nano
Yes, Nano, deal with it XD
git clone --depth 1 git://git.savannah.gnu.org/nano.git

mkdir nano-build

cd nano
./autogen.sh
cd ..

cd nano-build
../nano/configure --prefix=/usr

make -j8
make DESTDIR=<path-to-LFN>/root install
cd ..
Libraries: Glibc
There is one important thing missing - something that almost every executable relies on for their execution: libraries
[The GNU C Library - GNU Project - Free Software Foundation
Gnu C library contains a bunch of good things and it is the basic for any linux. it contains the lib loader ld-linux which allows for dynamic library.
git clone --depth 1 https://sourceware.org/git/glibc

mkdir glibc-build

cd glibc-build
unset LD_LIBRARY_PATH
../glibc/configure --libdir=/lib --prefix=/usr

make -j8
make DESTDIR=<path-to-LFN>/root install
cd ..
Ncurses (Lib)
Ncurses' libs allows bash (and more) to
work, we also need to compile the wide character version which has its
libs end in 'w'. (get the latest here: https://ftp.gnu.org/gnu/ncurses/)
💡 Wide character version is the version that supports characters that are more than 8 bits
wget https://ftp.gnu.org/gnu/ncurses/ncurses-6.5.tar.gz

tar -xvzf ncurses-6.5.tar.gz

mkdir ncurses-build

cd ncurses-build
../ncurses-6.5/configure --with-shared --with-termlib --enable-widec --with-versioned-syms --prefix=/usr
## --with-shared: ncurses by default only builds binaries with-shared allows us to build libraries.
## --with-termlib: a library that is needed by bash and nano
## --enable-widec: support for characters wider than 8bits
## --with-versioned-syms: by defaults ncurses does not add any information libraries versions which is needed
#                         by other executable that check for particular versions

make -j8
make DESTDIR=<path-to-LFN>/root install
cd ..

cd root
ln -s libncursesw.so.6 lib/libncurses.so.6
ln -s libtinfow.so.6 lib/libtinfo.so.6
# some program will call the standered version of the library because it supports
# boath the wide and noraml characters
How ld-linux works
ld-linux is system component that loads and links shared libraries needed by dynamically linked programs. It ensures that when you run an application, all necessary libraries are properly loaded into memory.
They are two main ways ld-linux looks for libraries:
- the first: It checks the /lib, /lib64 and the current directory of the executable.
- the second: It check the cache.
if we want to be through, we add the folders that the cache is going to check:
nano etc/ld.so.conf
Content of the file ld.so.conf (exit using Ctrl-x and than y, than Enter).
/usr/lib
/usr/lib64
💡 In this file you add folders you want the cache to check for libraries.
note: that the cache does not add symbol links
Update the ld.so.cache.
ldconfig -v -r ./
3. Building the init
Now lets make the init. An init is the first thing to boot in a linux system, it can be placed in /, /bin or /sbin, always need to be called "init" and be executable.
nano sbin/init
Content of the file
#!/bin/bash

mount -t proc none /proc
mount -t sysfs none /sys

exec /bin/bash
Make it executable and leave dir.
chmod +x sbin/init
cd ..
4. Creating disk
We need to create a disk (in our case 1GB).
dd if=/dev/zero of=disk.img bs=1M count=1024

fdisk disk.img

# Now enter this configurations
n - p - 1 - leave the rest of the options as default 2048sectors
# we just created a Primary partion
# we gonna mark it as bootable and write out the changes
a
w
Mounting disk (you can follow again to mount existing one)
Mounting our disk using losetup, it will find the next available loop back device (/dev/loop#) and give us access to the partitions at /dev/loop#p#. it will also tell us which loop# it chose.
sudo losetup -fP --show disk.img
Creating partition (only if you have a new disk)
You can now put the FS of your choice, given that it was configured into your kernel. if you followed this tutorial without change, you will be using EXT4.
# change the # with the loop back device
sudo mkfs.ext4 /dev/loop#p1
Mounting partition
This will be the last thing you have to do is to mount an not-new image. don't stop the tutorial if its new (; .
sudo mkdir /mnt/lfn
sudo mount /dev/loop#p1 /mnt/lfn
Copy our data
self explanatory...
sudo cp -R root/* /mnt/lfn/
5. Grub
At this point, we have a partition that no one knows is bootable. Grub will fix that.
We need a bootloader to tell our system what to do at boot, Grub is a complete, battle-harden bootloader and you will learn to use it. Lets get it onto our drive!
sudo grub-install --target=i386-pc --root-directory=/mnt/lfn --no-floppy --modules="normal part_msdos ext2 multiboot" /dev/loop#
Now lets create the boot entry.
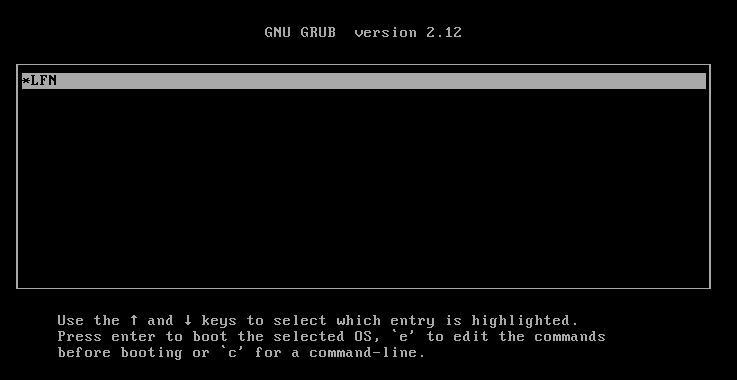
sudo nano /mnt/lfn/boot/grub/grub.cfg
Content of the file:
menuentry 'LFN' {
        set root='(hd0,1)'
        linux /boot/bzImage root=/dev/sda1 rw
}
Explanations: you can change LFN for what you want.
We have only one drive so our root drive and partition will be:
hd0<- this is the drive, counting from 0.
hd0,1<- this is the partition, counting from 1 (yes, death to the one that made that choice).
For the linux line, it need to point to
our kernel image and we need to tell it to mount /dev/sda1 (we have 1
disk so makes sense) and don't forget the rw to tell it that it can
write to it, by default you can't.
7. Unmount / Sync your disk
Before you run your LFN it is important
that you sync your data to insure that whatever modification you made will be written and usable.
#I like to spam it 3x
sync
It is always important to umount both the FS and the loopback device using:
sudo umount /mnt/lfn
sudo losetup -d /dev/loop#
8. Running LFN
Here is the basic command:
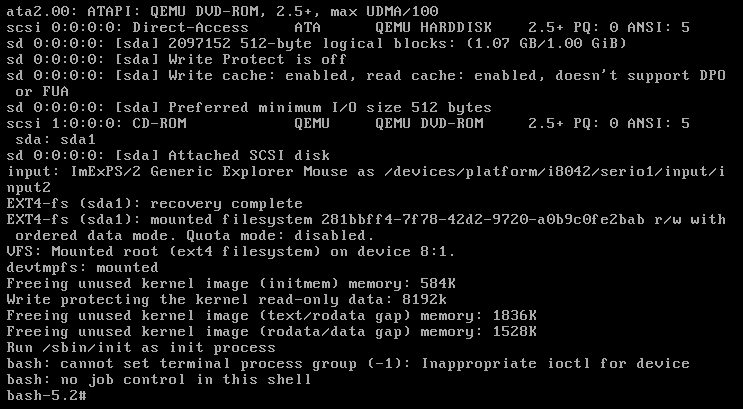
qemu-system-x86_64 disk.img
here you can do ls to see your file or
you can nano a file (lol) , sync and if you quit and come back, it would stay there as LFN has an EXT4 fs it can write onto.
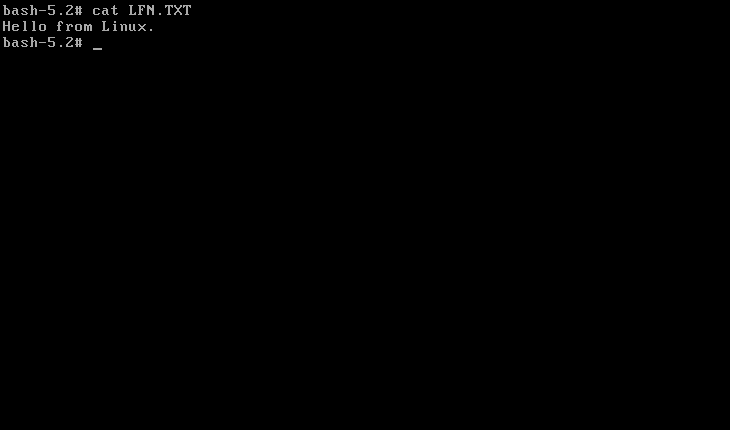
extra
Internet From Scratch:
setting up internet on LFN
iproute2
iproute2 is a powerful collection of utilities for managing networking in modern Linux systems. It replaces older tools like ifconfig, route, and netstat.
- to build iproute2 you need to install libcap-dev:
sudo apt install libcap-dev
git clone --depth 1 http://github.com/iproute2/iproute2.git

cd iproute2

./configure --libbpf_force=off --prefix=/usr

make -j8

sudo make DESTDIR="/mnt/lfn" install
💡 you can check the required libraries for a given program using ldd
- e.g:
ldd ip/ip
linux-vdso.so.1 (0x000072c30626a000)
libelf.so.1 => /lib/x86_64-linux-gnu/libelf.so.1 (0x000072c30611f000)
libmnl.so.0 => /lib/x86_64-linux-gnu/libmnl.so.0 (0x000072c306118000)
libcap.so.2 => /lib/x86_64-linux-gnu/libcap.so.2 (0x000072c30610b000)
libc.so.6 => /lib/x86_64-linux-gnu/libc.so.6 (0x000072c305e00000)
libz.so.1 => /lib/x86_64-linux-gnu/libz.so.1 (0x000072c3060ed000)
libzstd.so.1 => /lib/x86_64-linux-gnu/libzstd.so.1 (0x000072c30602d000)
/lib64/ld-linux-x86-64.so.2 (0x000072c30626c000)
installing missing labraries:
-
elfutils
**git clone --depth 1 git://sourceware.org/git/elfutils.git cd elfutils autoreconf -i -f cd .. && mkdir elfutils-build && cd elfutils-build ../elfutils/configure --enable-maintainer-mode --prefix=/usr make -j8 sudo make DESTDIR="/mnt/lfn" install** -
libcap
git clone --depth 1 git://git.kernel.org/pub/scm/libs/libcap/libcap.git make -j8 sudo make DESTDIR="/mnt/lfn" install -
zlib
wget https://zlib.net/current/zlib.tar.gz tar -xvzf zlib.tar.gz cd .. && mkdir zlib-build && cd zlib-build ../zlib-1.3.1/configure --prefix=/usr make -j8 sudo make DESTDIR="/mnt/lfn" install -
zstd
git clone --depth 1 git://git.kernel.org/pub/scm/libs/libcap/libcap.git

make -j8
sudo make DESTDIR="/mnt/lfn" prefix=/usr install
test 1
sync
sudo umount /mnt/lfn
sudo losetup -d /dev/loop##
qemu-system-x86_64 disk.img